 Ice cream is very expensive in Japan and it only comes in mini cup sizes and not many American flavors like cookies and cream, rocky road, or rum raisin. When I was working in Japan, I purchased my first ice cream machine to make American flavored ice cream. Ironically, after returning to the states, I purchased a Cuisinart ice cream maker to make Japanese flavored ice cream like green tea, black sesame, and red bean. There are a few challenges when using an ice cream maker. First, you have to freeze the housing for at least 6 hours or overnight prior to making the ice cream. Second, when they say clean up is easy, well, it’s not that simple, still need to take apart everything and make sure not to scratch or puncture the housing. Lastly, you can only make one batch at a time – unless you buy multiple housing and freeze them all. Needless to say, for a lazy guy like me, I made ice cream maybe 3 times with the machine and the rest of the time it’s sitting in the garage gathering dust.
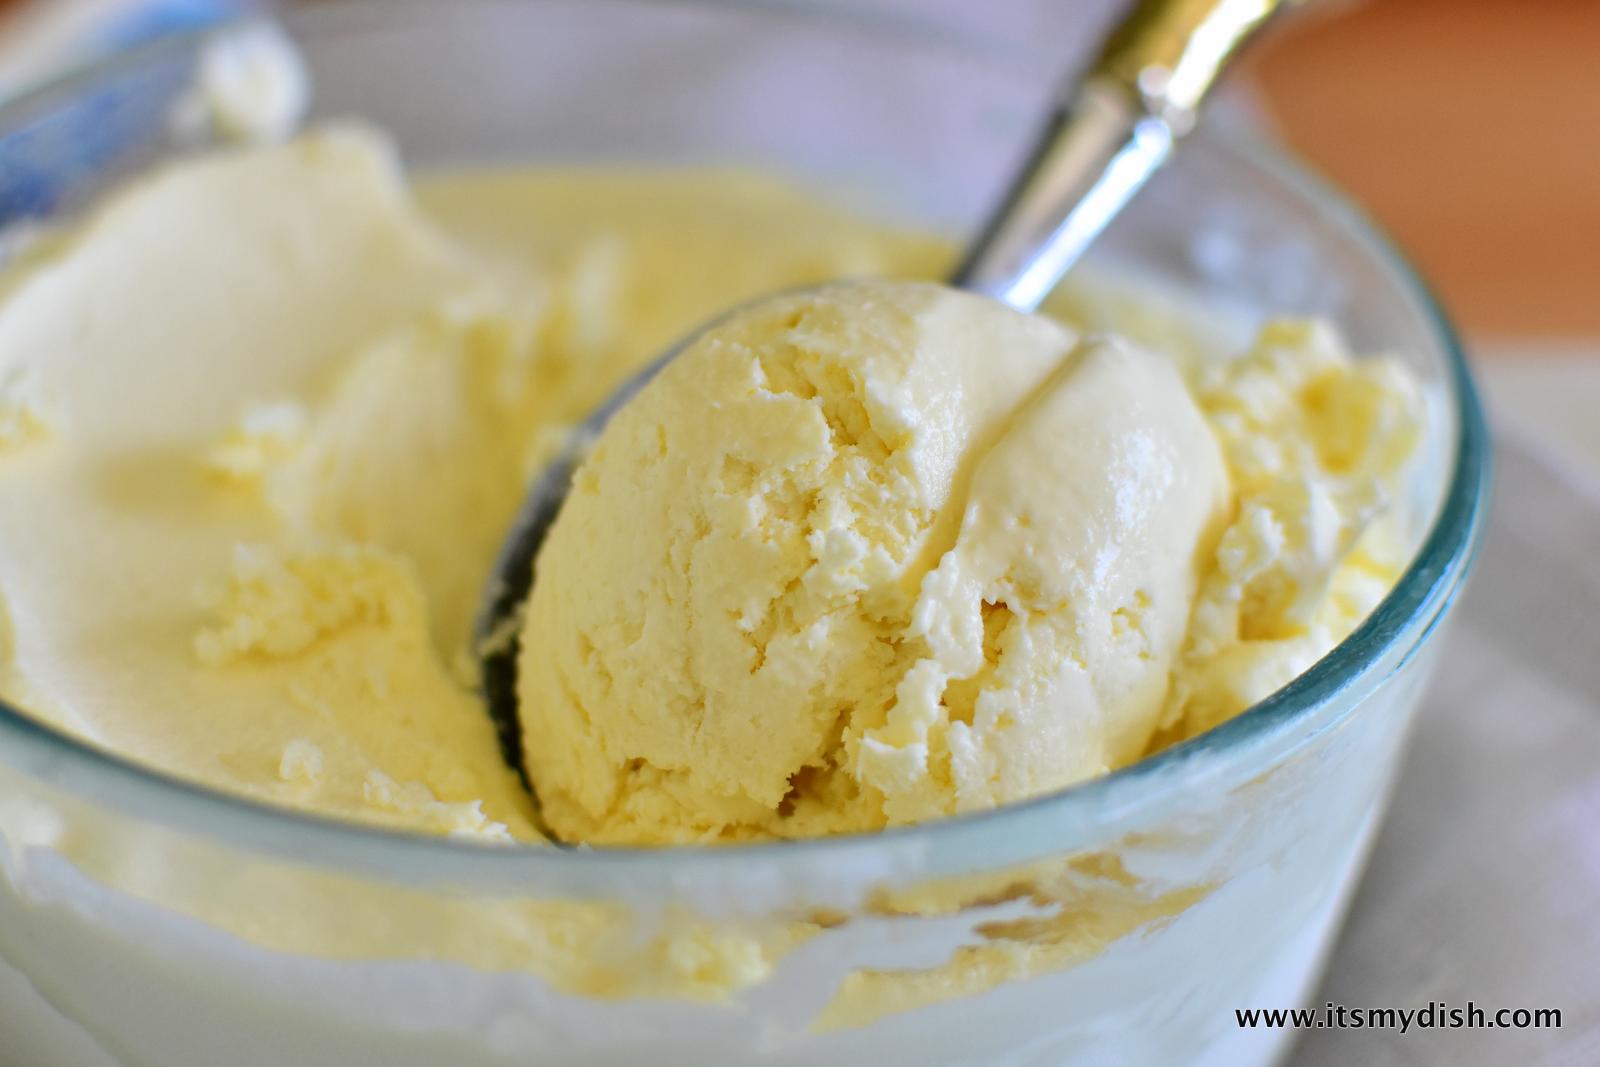
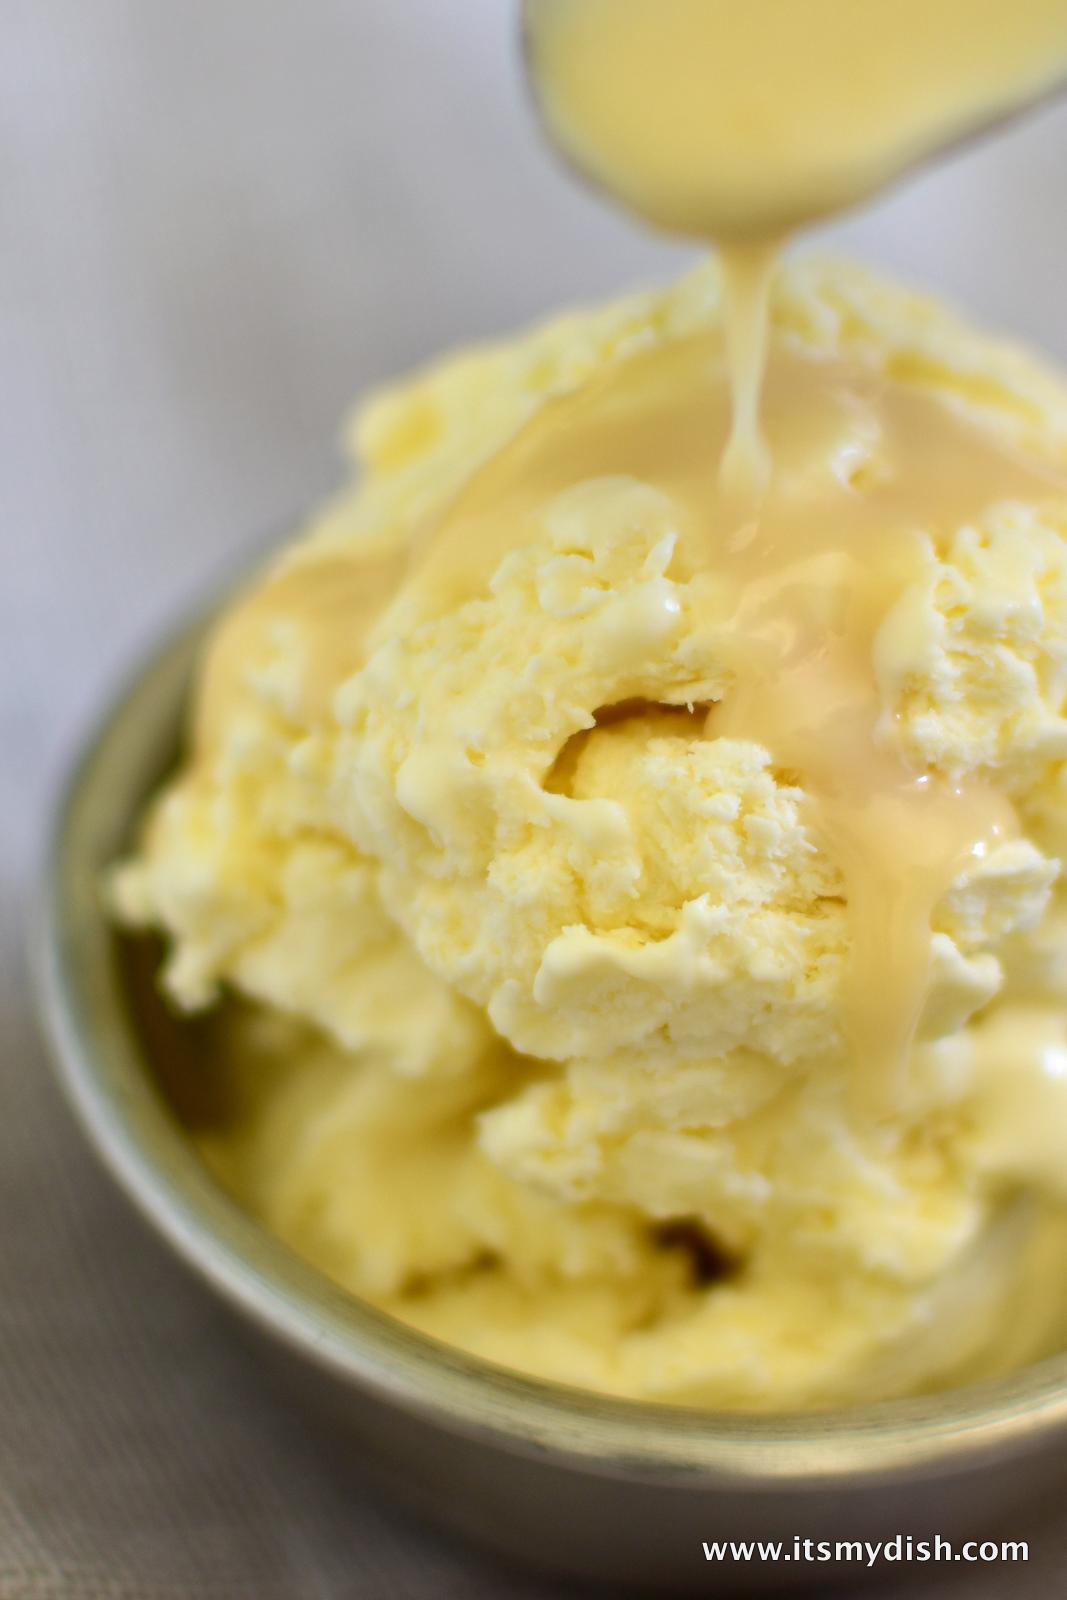
Recently, my craving for good Japanese flavored ice cream surfaced and I saw a few articles and recipes on no-churn ice cream. Hey, it’s worth a shot! One thing to note, the no churn ice cream basically incorporates air prior to freezing so the texture is a little bit different. Think of a frozen chocolate mousse. But hey, it only takes 5 minutes to prep and just need to clean up the mixing bowls and wire whisk. For once in my life, I can sacrifice a bit of texture for the simplicity of the recipe.
Ingredients
- 14 oz (1 can) sweetened condensed milk
- 2 cups heavy whipping cream
- 2 teaspoon vanilla extract
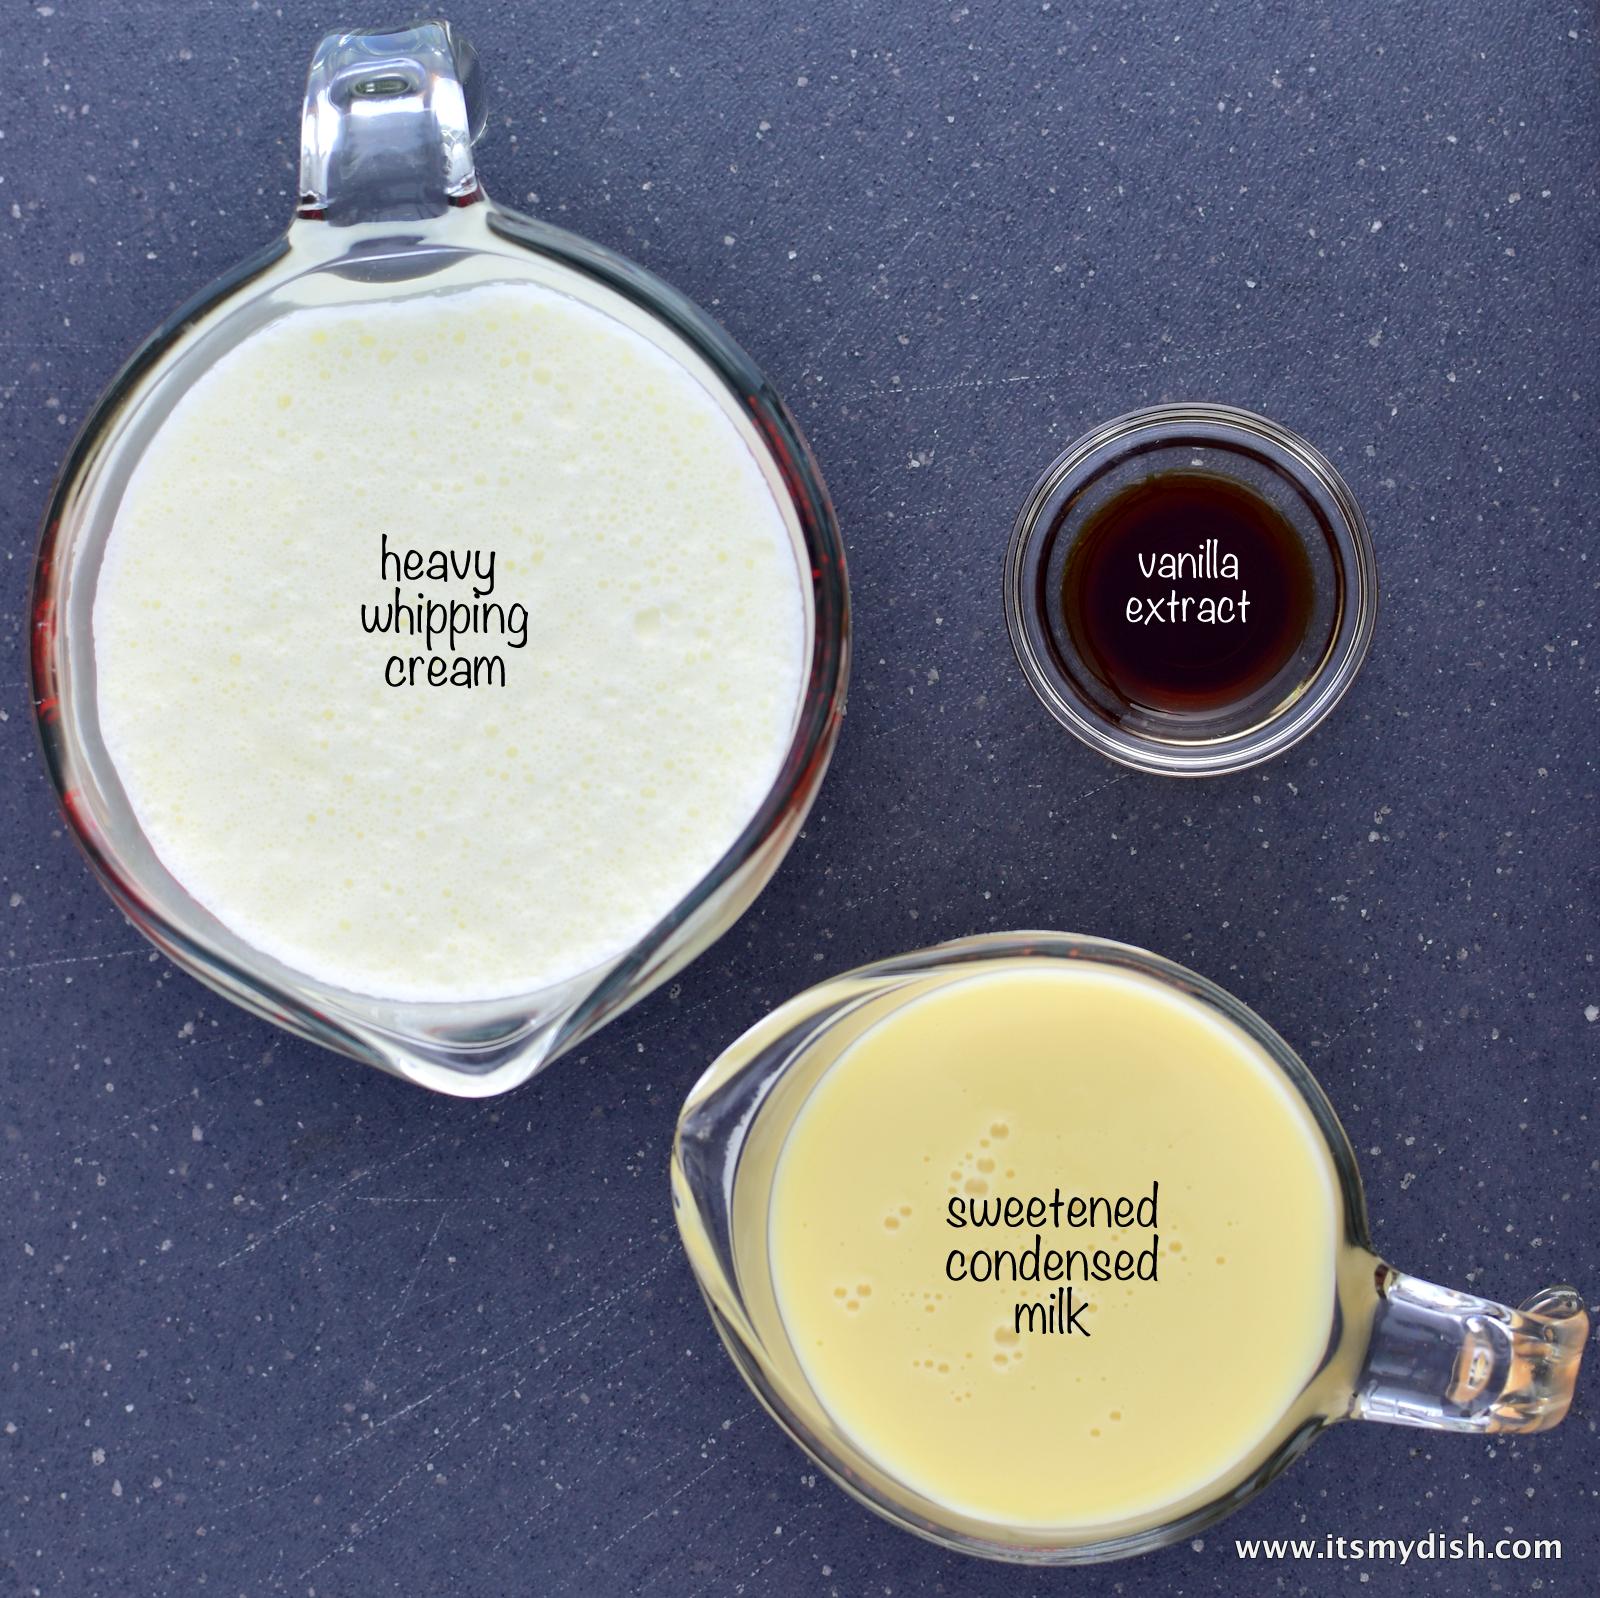 When you think about the cost of these ingredients, you won’t see much savings from just buying ice cream from the supermarket but at least you know exactly the ingredients you add into it. And of course, this is just the basis for the ice cream. With this, you can make all sorts of flavors that you otherwise can’t find in the store shelves.
Directions
Pour the condensed milk into a large mixing bowl and incorporate the vanilla extract. (steps 1 & 2)
Take 2 cups of heavy whipping cream and using either a hand mixer or stand mixer, beat on high until stiff peaks are formed, about three minutes. Pro Tip: Keep your whipping cream at a very low temperature for success. Do not over-whip or else the cream will begin to separate. (step 3)
Fold in half of the whipped cream into the condensed milk mixture. Gently fold so not to disrupt the air bubbles. It doesn’t have to be completely mixed at this point. (steps 4 & 5)
Fold in the remaining whipped cream into the mixture and ensure that it’s evenly incorporated. (steps 6 – 8)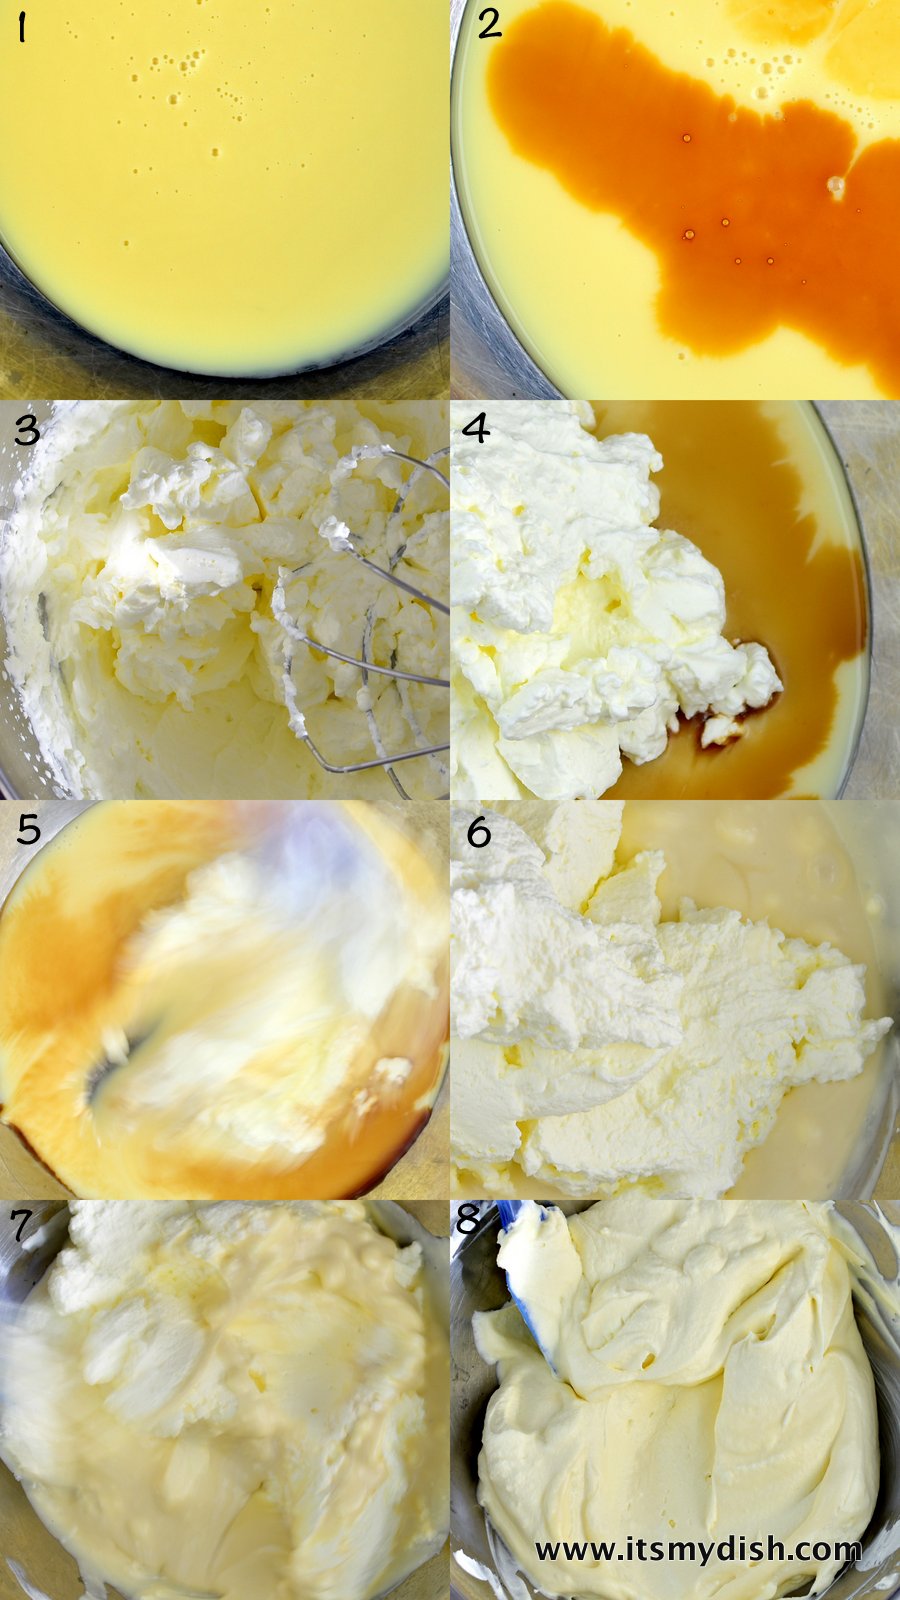
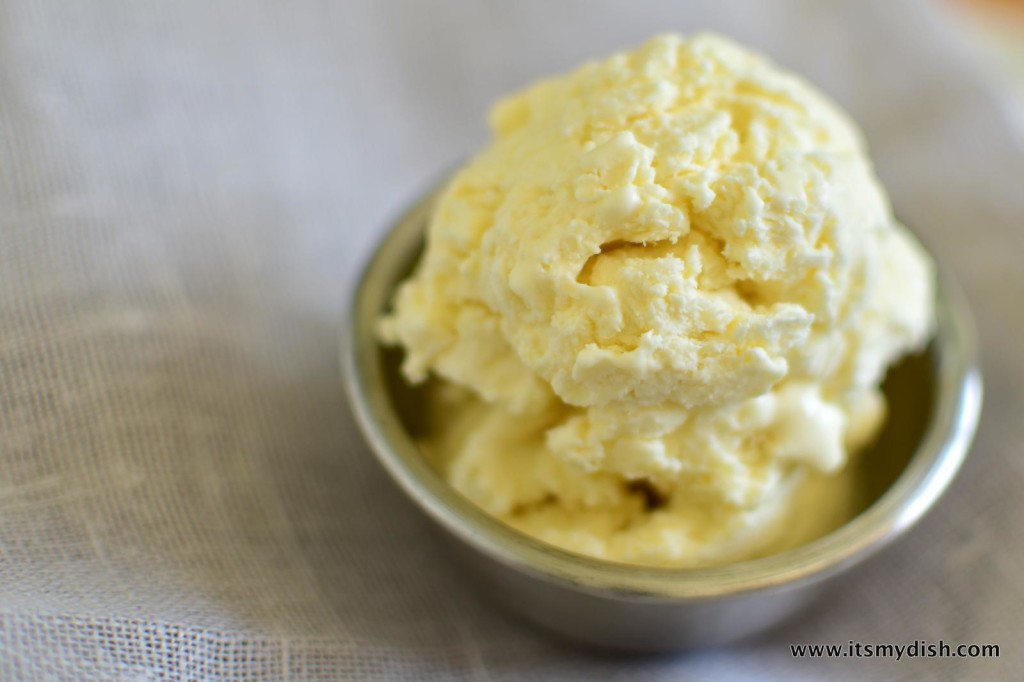
Pour ice cream mixture into a freezer safe container. I like to use glass bowls but you can use loaf pans, silicone containers, or even casserole dishes.
Freeze for about 6 hours or overnight before serving.
Note
If you want to make other flavored ice creams, you can add those ingredients into the condensed milk mixture prior to adding in the whipped cream.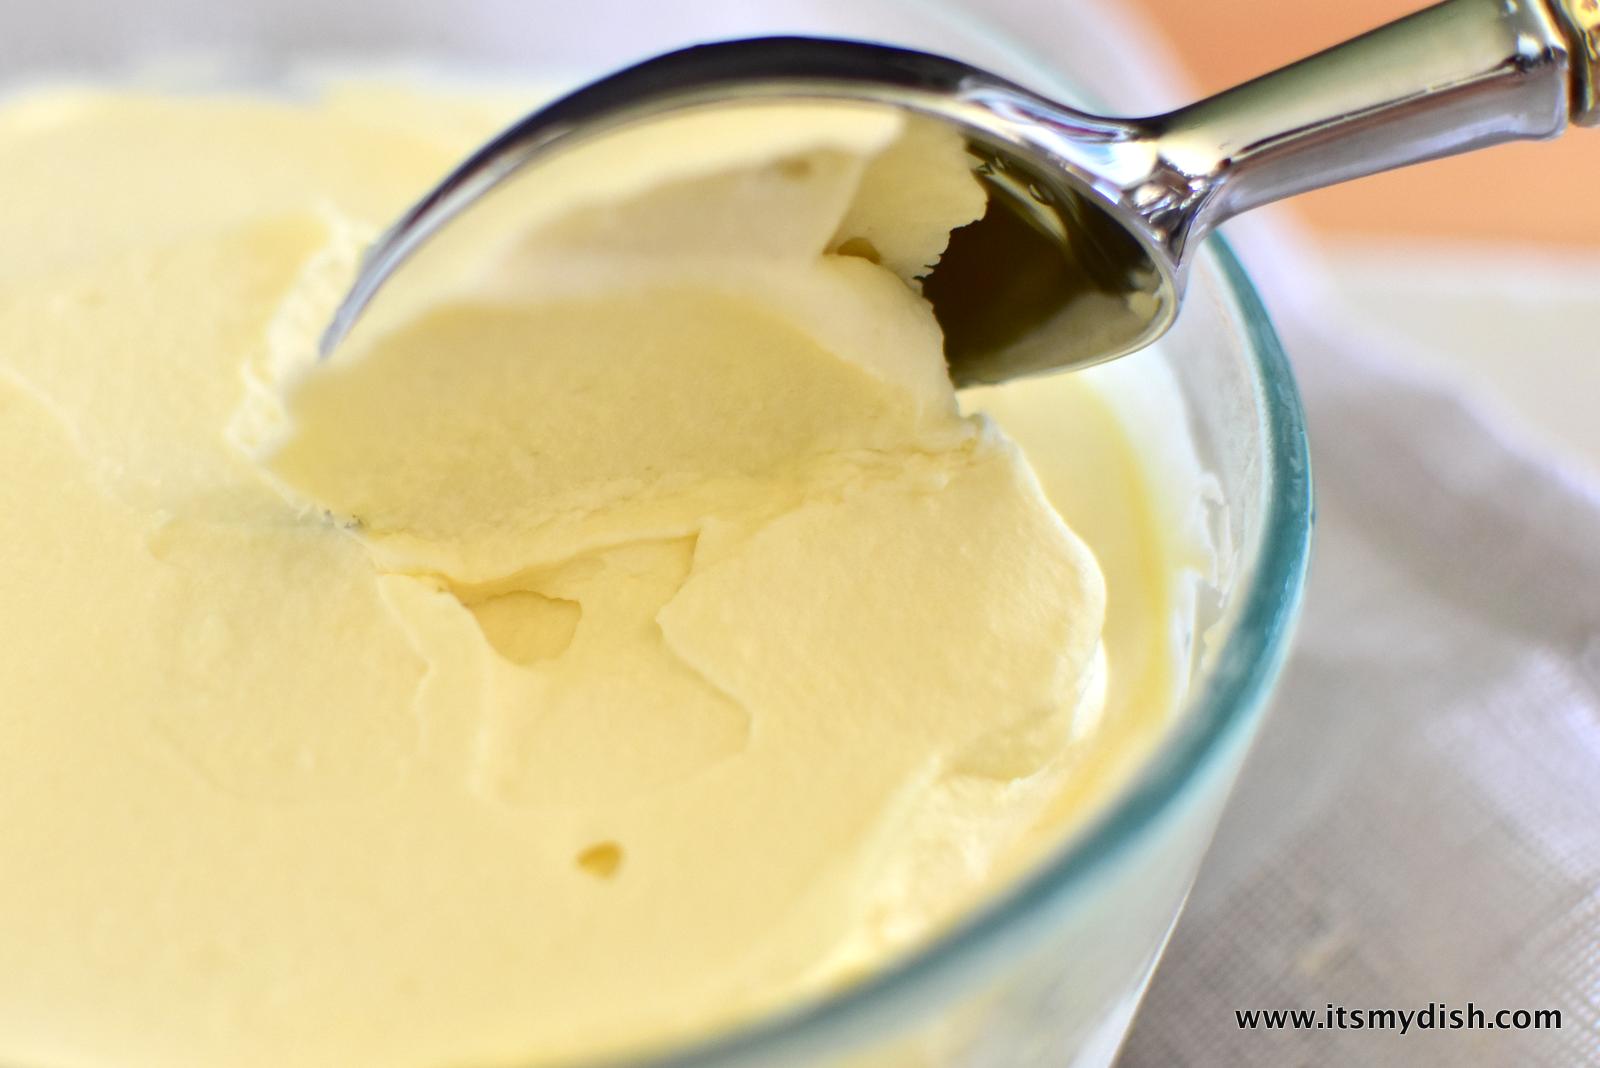

- 14 oz (1 can) sweetened condensed milk
- 2 cups heavy whipping cream
- 2 teaspoon vanilla extract
- Mix vanilla extract with 1 can of condensed milk
- Whip 2 cups of whipping cream until stiff peaks form (about 3 minutes)
- Fold in ½ of the whipped cream into the condensed milk mixture until well incorporated
- Fold in remaining whipped cream
- Pour into a freezer safe container and freeze until firm (about 6 hours)